Starting My Gardening Journey!

***please note that I wrote this post back in May but was only able to find my old pics recently. As such, I will be changing the date to May soon :D **


For as long as I can remember I have always wanted to have a 'green thumb' and grow my own food. For as long as I can remember I have always failed spectacularly at it.  Over the years I have watched/stalked friends, neighbors, and acquaintances who were able to successfully grow lovely plants and beautiful veggie crops with envy. "How are they doing it?" I would ponder. "what on earth am I doing wrong?" I'd ask. I faced lots of challenges such as trying to grow in dirt that was basically hard clay, and having basically no knowledge about feeding plants nutrients or how much to water. After a few failed attempts I gave up.


Fast forward to when we moved into our new home, and I decided to give this veggie growing thing another chance. It was the beginning of our first summer there and I was excited to give it another go. My family was skeptical. "Haven't you already tried this before?" "Why throw away all that money buying plants that wont grow when you can buy vegetables at the store?" "why put in all the effort?!" etc. etc.


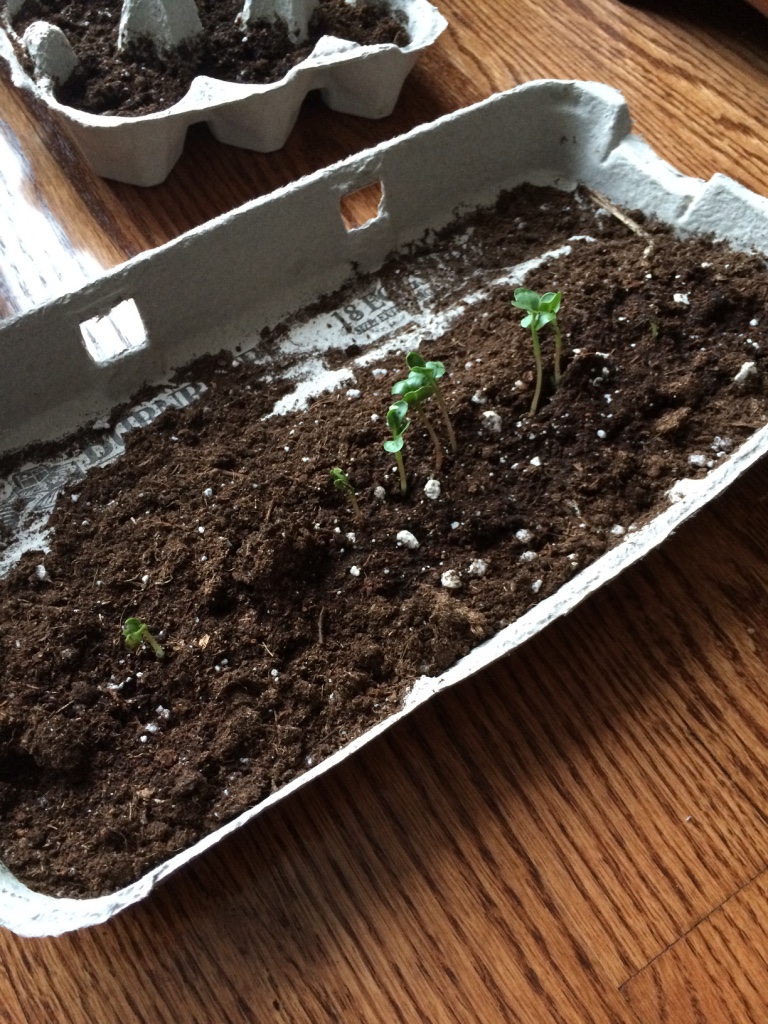
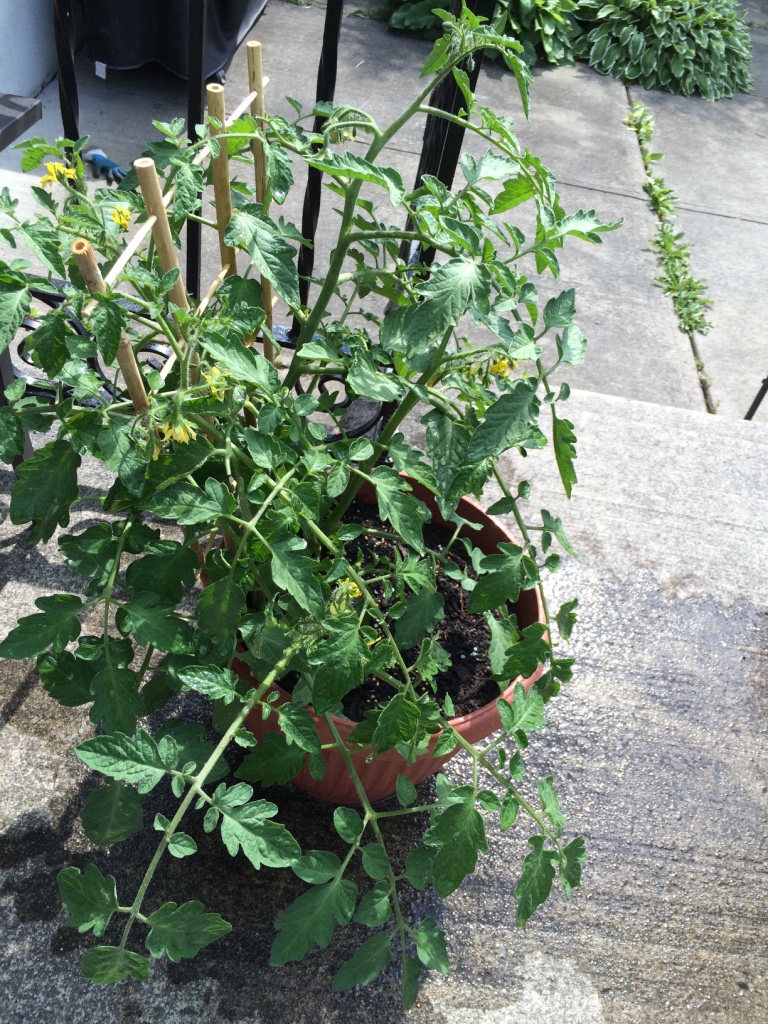
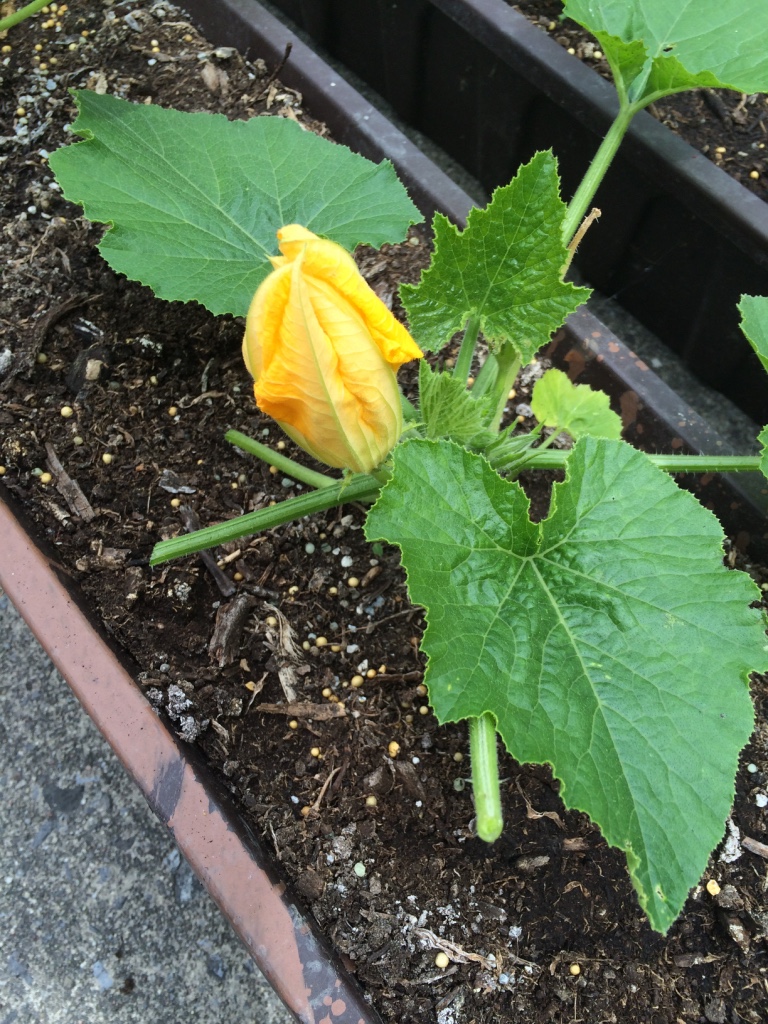
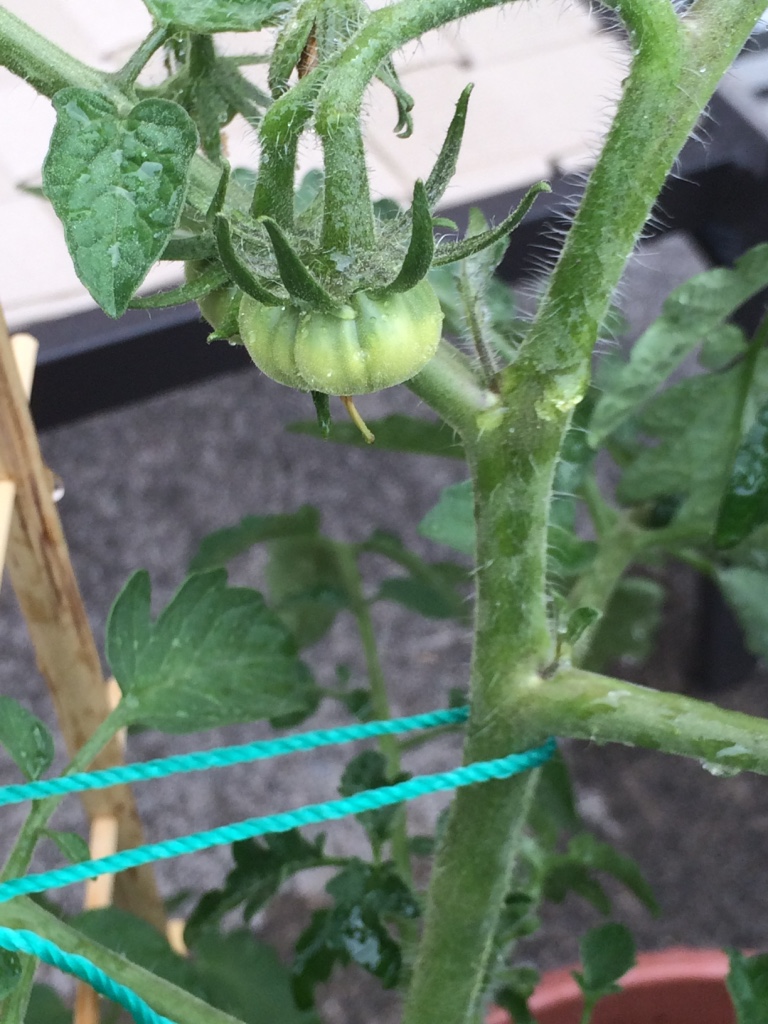
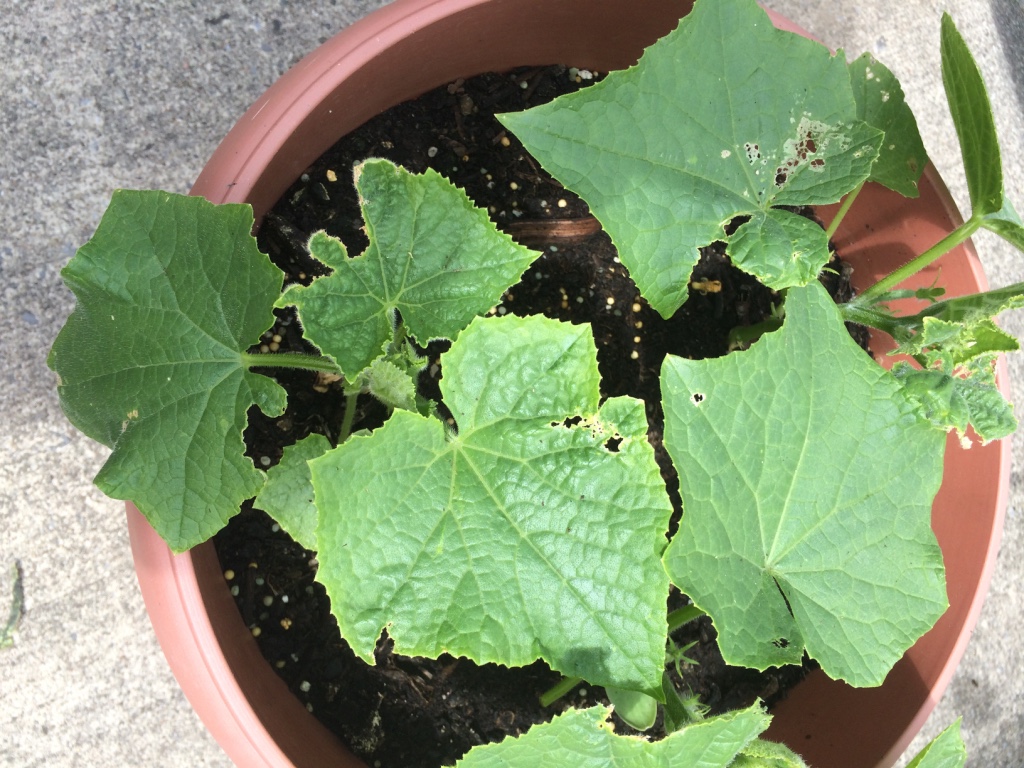
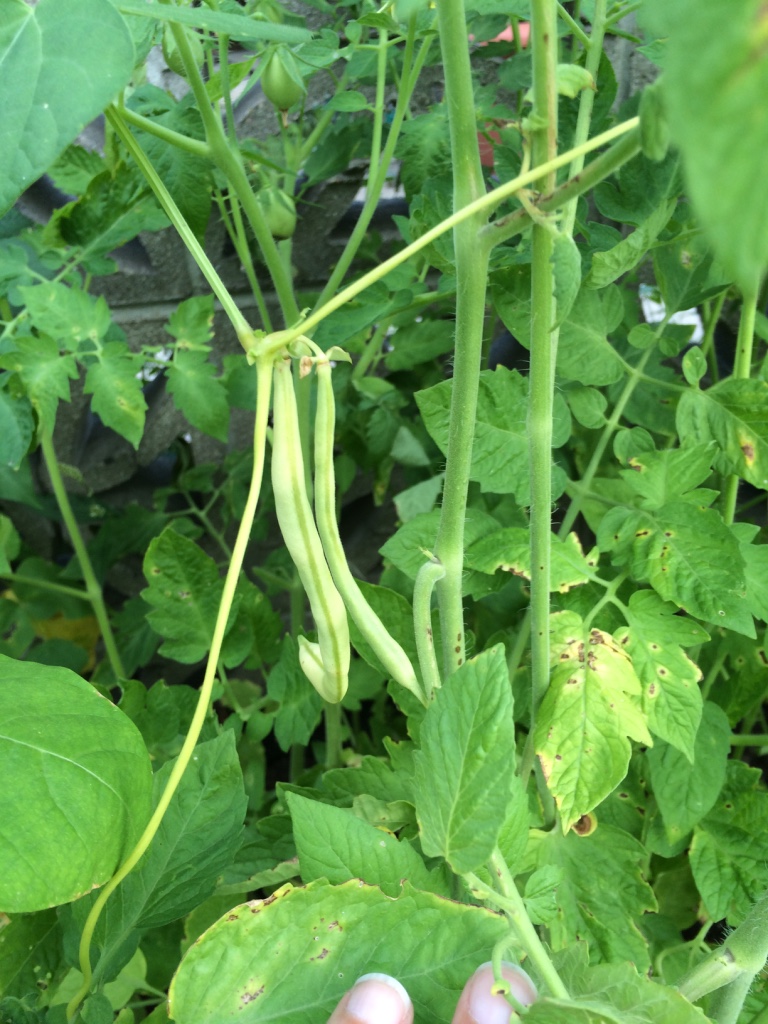
I didn't let it deter me though. After all a gardener is technically the ultimate foodie - you are literally GROWING your own food! Cant get much Hipster than that! 😉 So I decided to go out and buy a few packets of seeds, a few baby seedlings, some pots and some dirt, and just see what would happen. Though we had a huge backyard, it was a total mess - overrun with tall grass and weeds - so I decided to start small and just plant in a few pots. To my surprise (and utter delight !) I was finally able to grow some edibles! :) I was really excited!! I managed to harvest a handful of zucchinis and cucumbers, 2 green peppers, some radishes, and a whole bunch of tomatoes!

A few pics of my mini harvest:


the mini harvest from my first ever garden!
First Batch of radishes I ever grew! :) Grew it in my tiny little garden I did!


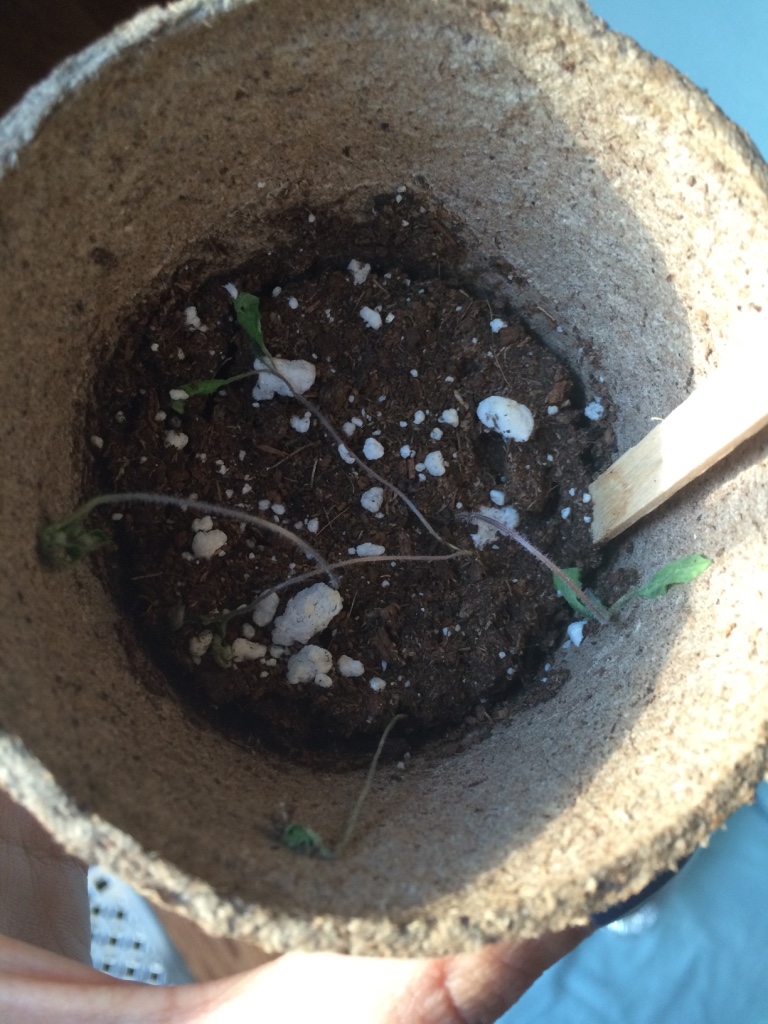
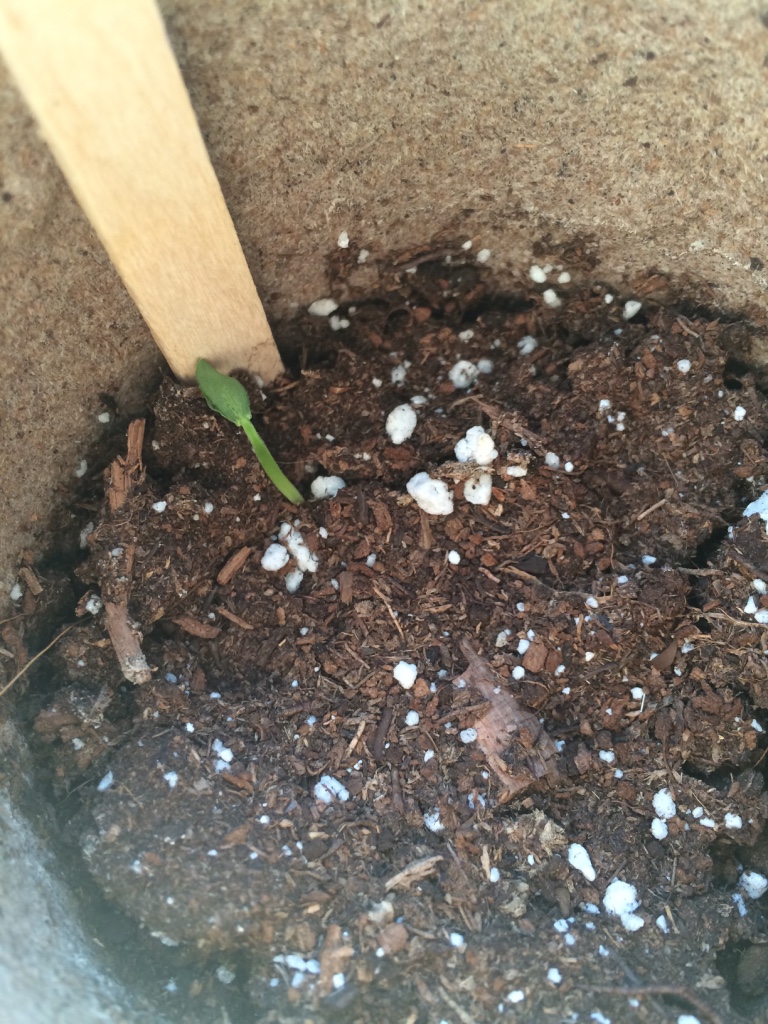
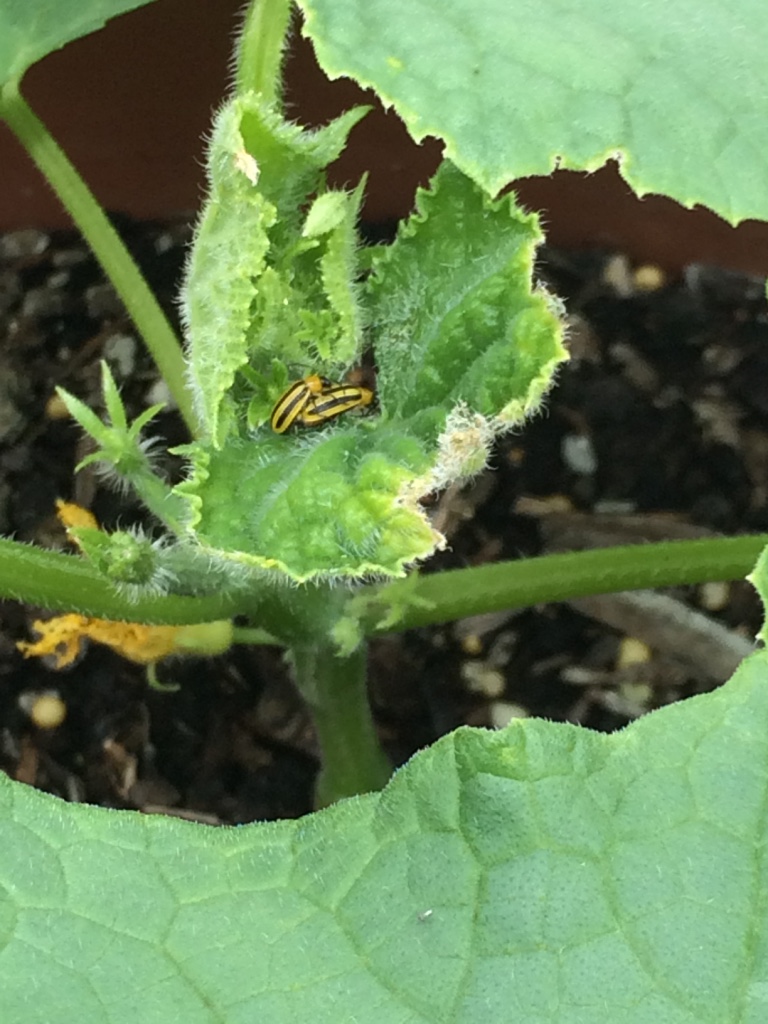
Now to any mildly experienced gardeners this would not seem at all impressive, but for me it was amazing! I had finally managed to grow something! Sure, my cucs and zuchs plants all died after a tiny harvest. I dealt with blossom end rot on some tomatoes (after I figured out what blossom end rot is) and only got like 2 bell peppers, but still. Progress.

(For a brief outline of the very many stupid mistakes I made....please see the below slideshow:)


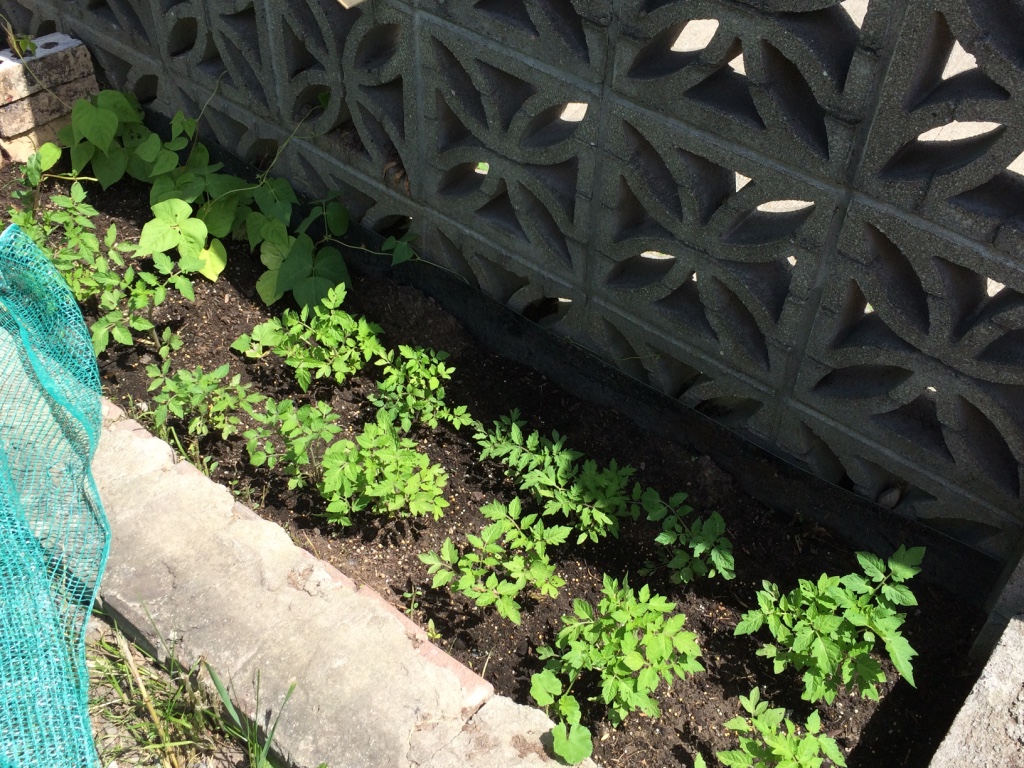
Armed with the knowledge I had obtained and the determination of achieving a large harvest, I made plans for using our big backyard for some good use next year. Encouraged by all this I decided "next year- I go bigger and better!" And Guess what? Next year is here and I am fully deep into my gardening project! :)

So I thought I would share my journey with you! I will be sharing what I've tried, what works (and what doesn't work) and everything else I learn along the way! I will be sharing with you updates from my garden and how things are developing, and how we transformed a yard full of overgrown weeds into veggies! (I hope.) 

I'm really excited about this (I know ... excitement over a garden makes me a total grandma), and I hope you are too! (grandmas unite! :) )

So I'm really excited to take on this gardening challenge. Though I know NOTHING about all of this I am willing to learn. I hereby take on the challenge to learn how to garden once and for all! Whose with me? 😀 

Super Easy Natural Homemade Butter!


How to make homemade all natural butter! Super easy with step by step pics! Makes such soft and creamy butter!


Wow 3 posts in one week! That sure is a first for me…here's hoping I can stick to a more consistent posting schedule! Today I'm sharing a really neat 'recipe'. The reason I put a ' ' around the recipe is that it's not so much a recipe but an old method that has been used for centuries by humans – namely, butter. Most of us who have been born and raised in big cities have never been exposed to the process of making butter. Sure, we know it comes from milk, which comes from cows, but that’s about where most people's knowledge on the butter making process ends.

 Back when I was in third grade, our class had a 'live like a pioneer day', where we were supposed to dress up like pioneers and live as they would have. This included no electricity or paper, which meant working on mini chalkboards with the lights off! This was quite fun for a third grader and we really enjoyed the experience. But what made it even more fun was, the thing that makes everything more fun, the food! In class we made our own bread by mixing up the flour with the rest of the ingredients, and setting it out to poof. Then our teacher baked the bread during lunch break in the staff's kitchen. It was all really amazingly fun, and it’s a memory I still think back on and smile. But perhaps what was most fascinating to 8 year old Zahra was what we made in class to go 'on' the homemade bread – homemade butter! Our teacher poured some whipping cream into a jar, and screwed the lid really tight. She then asked us to sit in a circle and pass the jar around one by one, with each of us shaking the jar vigorously with our hands until we couldn’t shake anymore! I remember being both skeptical and in awe….could *we*, the young little children of room 3, truly, possibly, make… butter?! SO shake, and shake, and shake we did, each of us hoping that *we* would be the one who made the magical shake that turned the cream into butter. Finally, after a good 20 minutes of shaking the cream, EUREKA! We had butter! Of course it was a bit soft and liquidy, but we didn’t care! We made butter! We slathered it on some of our homemade bread, and boy was it a delicious snack on a dark (since the lights were off) afternoon.


Make super soft and creamy homemade butter! Super easy with step by step pics!

Since then I have always wanted to go back and 'try' it myself – to recreate this homemade butter, but this time do it 'right'. You know. The adult way. However, every time I needed butter I would do the normal 'adult' thing to do – which was buy it from the grocery store. However, about a week ago I was helping my mom with the groceries when I noticed the whipping cream we usually get was on sale. I grabbed a package of it, with the plans of baking something (wasn’t quite sure what yet), and headed to the cash. However, at the cash I realized ' aww man, I forgot the butter!' Anyone who has walked alllll the way across a huge grocery store to the check-out cash, only to remember that they forgot to pick something up on the other end of the store, will know that you will come up with any excuse to NOT go back. At that moment while holding a 1L container of whipped cream, all I had to do was look down at the excuse I was so conveniently holding – I'm going to make some homemade butter! :D

So here it is - how to make butter. It's surprisingly easy and actually makes a delicious final result! It’s a very nice fluffy and SOFT butter that you just don't get in the store bough kind. Best of all, it's healthy, natural, and preservative fee! And if you like you can even buy organic whipping cream and make some organic butter! Yum! 

So lets begin, I've outlined the basic ingredients and steps needed, but this needs a bit more of a visual so I have some step by step photos / personal tips for you too. 


How to make homemade all natural butter! Super easy with step by step pics! Makes such soft and creamy butter!

Homemade Butter

  • Whipped cream – at least 35% (nothing less)
  • Salt to taste (optional) – I make unsalted butter
  • ICE COLD water
  • Something to make it with. I made it in my kitchen aid mixer, but you can make it with a hand mixer or even a jar like I did in the third grade :) 
  1.  Pour your cream (no measurement… however much you want. I used ¾ of a 1L container but you can use more or less depending on how much butter you want) into your stand mixer. Beat the cream at low-medium speed until it turns into whipped cream. Then beat at high speed until the cream curdles and makes chunks.

  2. At a certain point it will start 'leaking liquids'. At this point you want to cover your mixer with a cloth or plastic wrap to prevent splashing. Keep beating until you have hard formed butter in your mixer (see pics below). At this point you want to drain that liquid out – but keep it! This is butter milk and can be used in lots of yummy recipes!

  3.  Add some ICE COLD water to your butter (1/2 – 1 cup depending on how much butter your making). Beat the butter and ice cold water together (be careful of splashes!) for a few minutes. Then stop and drain the water (it will be a bit murkey). Then repeat the same steps again. I do it about 3 times or until the water is kind of clear. This is done to 'clean' your butter and draw out all the moisture. This allows your butter to last longer without going bad. If you are going to consume your butter in the next few days then you can skip step 3.

  4.  And that’s it! Once you have beaten the ice water with the butter to the point that the water isn’t too murky, you can drain the remaining water and 'pat' the rest out with your spatula. And there you have it! Butter! You can put it in an airtight container and it lasts for a good month!


And heres a visual of the above, which is also pinnable! :)

a step by step tutorial on how to make homemade organic butter! (theres two parts)
how-to-part-2.jpg


a great guide on how to make homemade all natural butter! Who would have thought butter could be so easy to make at home? and so soft!